
I was going through Pinterest the other day searching for recipes, what can I say, we’re always craving something sweet. This is a regular daily thing for me, of course!
I came across a pie titled French Coconut Pie. The picture of it looked so delicious. It was submitted in 2010 to Tasty Kitchen, by eastmemphismama, love the name, by the way. Check out the original recipe: https://tastykitchen.com/recipes/desserts/french-coconut-pie-2/
I made it myself. I changed the quantity of a couple of ingredients.
I am such a rebel! (wink, wink)
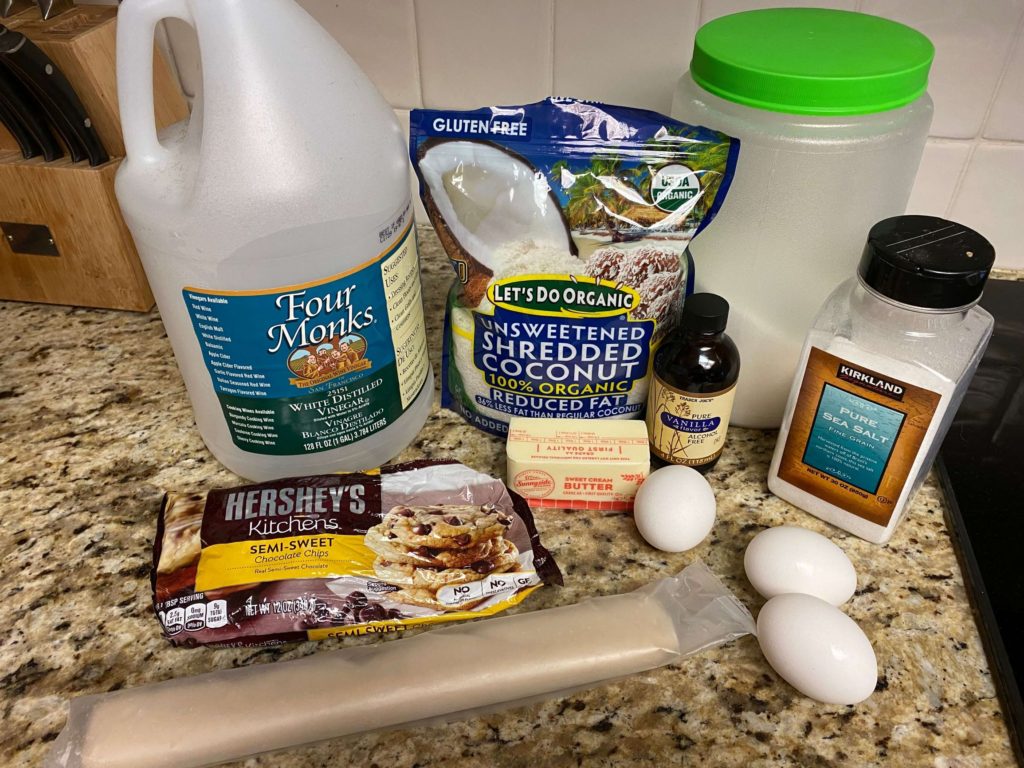
Ingredients Needed:
- 3 eggs
- 1/2 cup of butter, (1 stick) melted
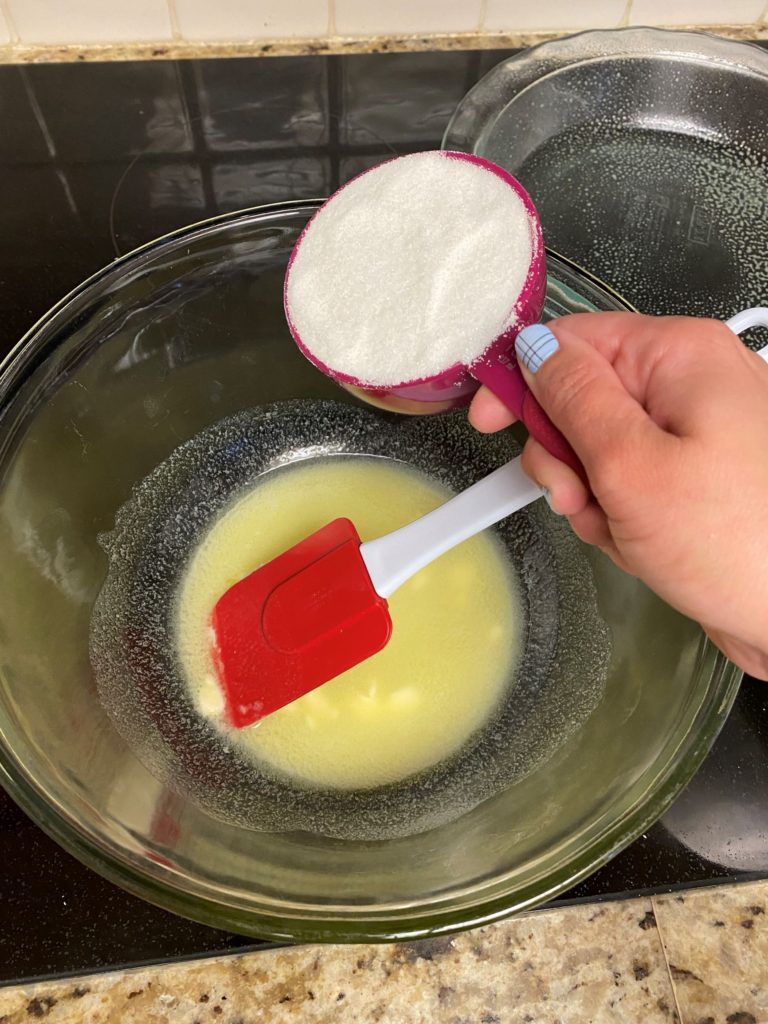
- 1 cup of granulated sugar
- 1 tablespoon of white vinegar
- 1 tablespoon of vanilla extract
- 1 pinch of salt, (I measure half of a 1/4 teaspoon)
- 1 cup of shredded coconut
- 1 whole 9-inch uncooked pie shell
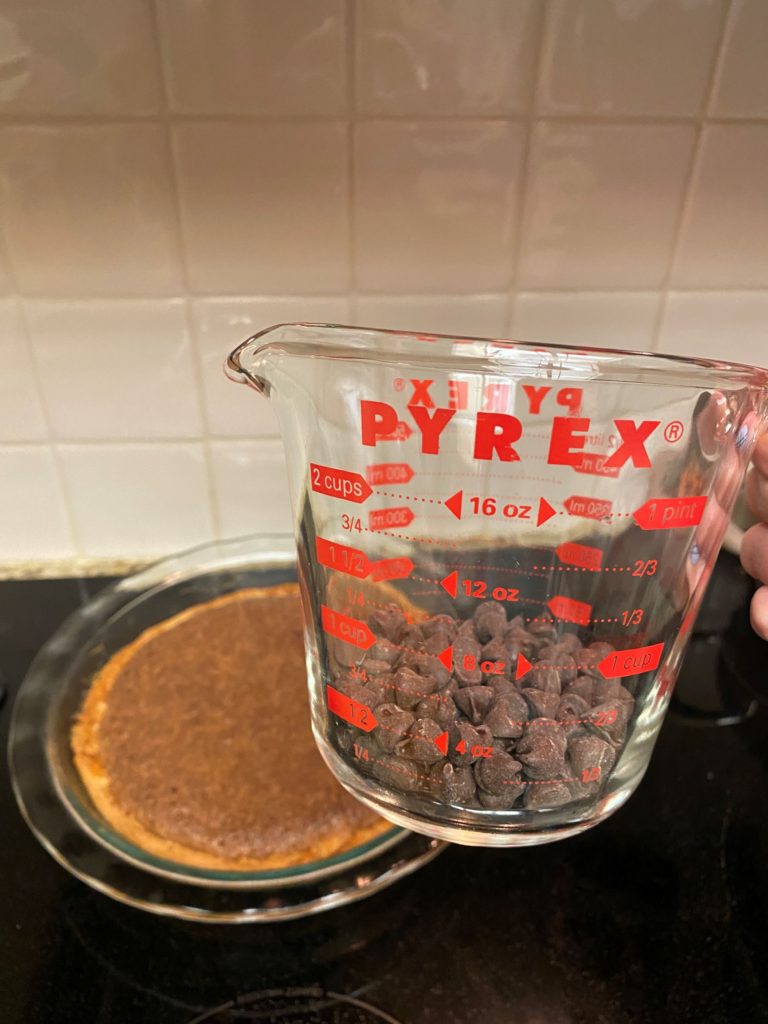
- 1/2 cup of semi-sweet chocolate chips (for decoration at the end)
***Turn the oven on at 350 degrees, now that’s an order!***
1. The first thing you want to do is let that pie crust sit out for at least 10 minutes before you unfold it or it will crack. This particular pie crust was from the refrigerated section where you would find tubes of sugar cookies and Pillsbury biscuits.
Yea, that’s right, you know what I’m talkin’ bout!
Pie Filling
2. You can start mixing all the ingredients above together, except for the chocolate, that’s for later.
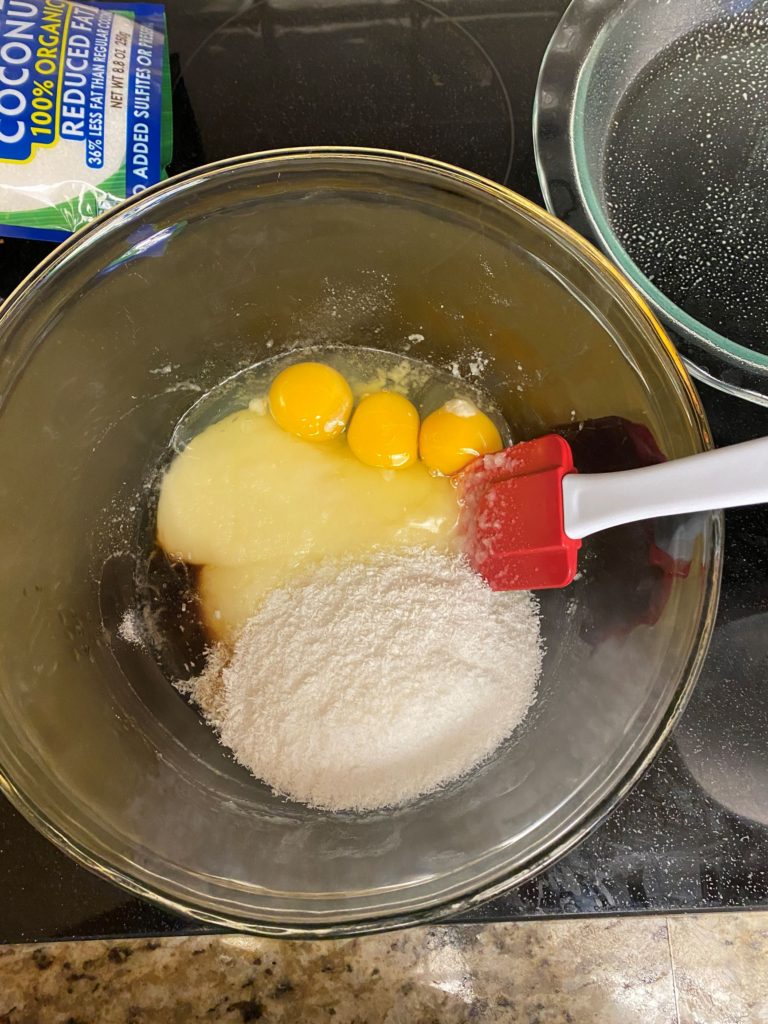
Yay! You did it! It should look like this, a splotchy yellow mess! Hehe!

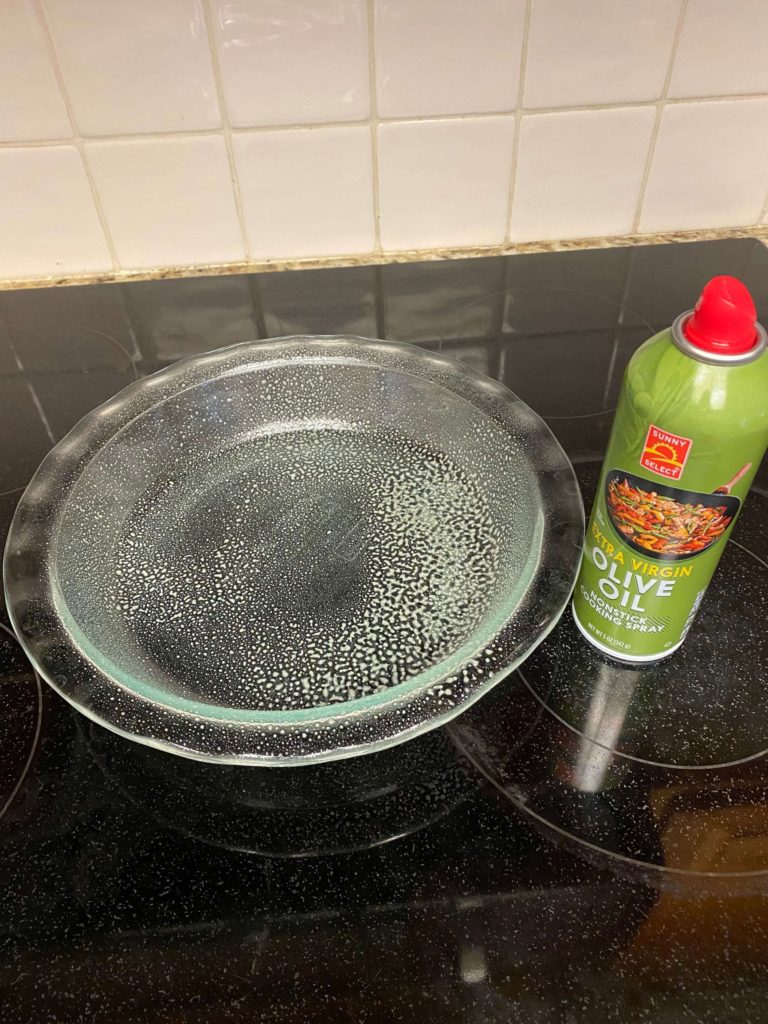
3. I sprayed a 9-inch deep pie plate with olive oil spray. I sprayed it beautifully, look how I coated that pie plate…wow.
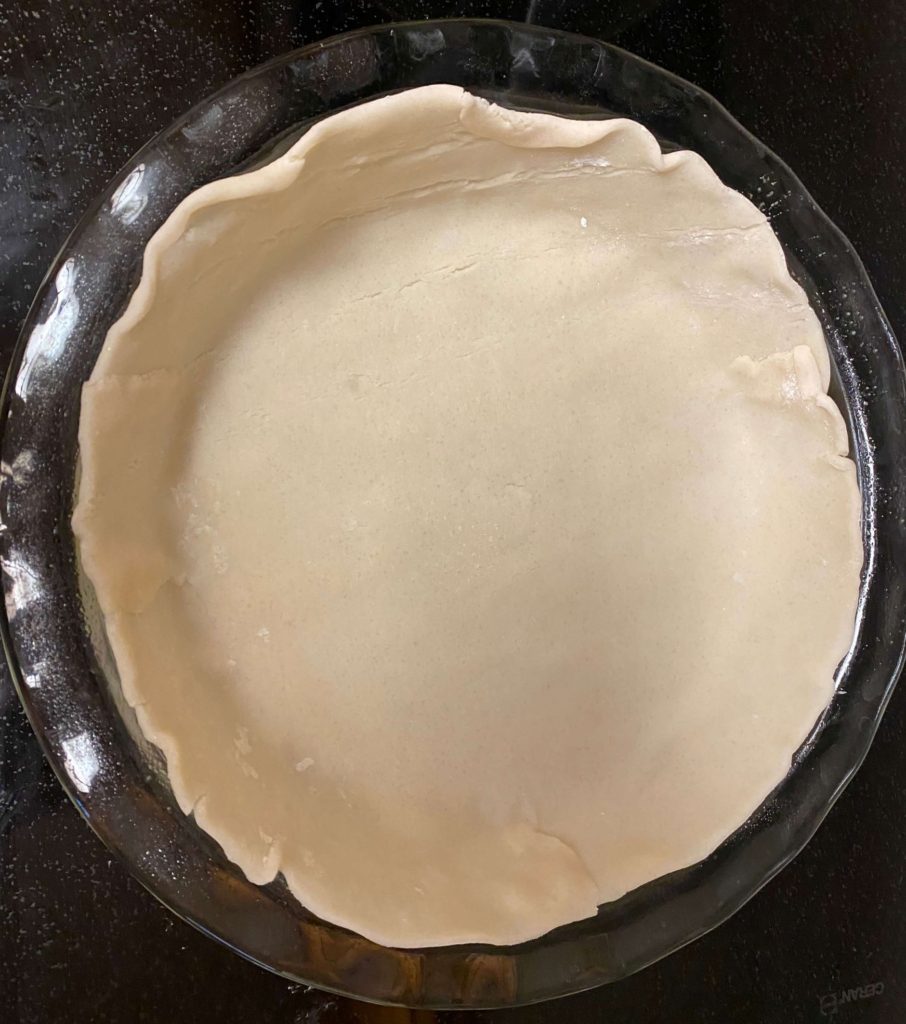
4. Gently unfold the pie shell and put inside the pie plate. It doesn’t need to look cute, it will bake up real nice though.
5. Put the pie filling inside the pie shell…
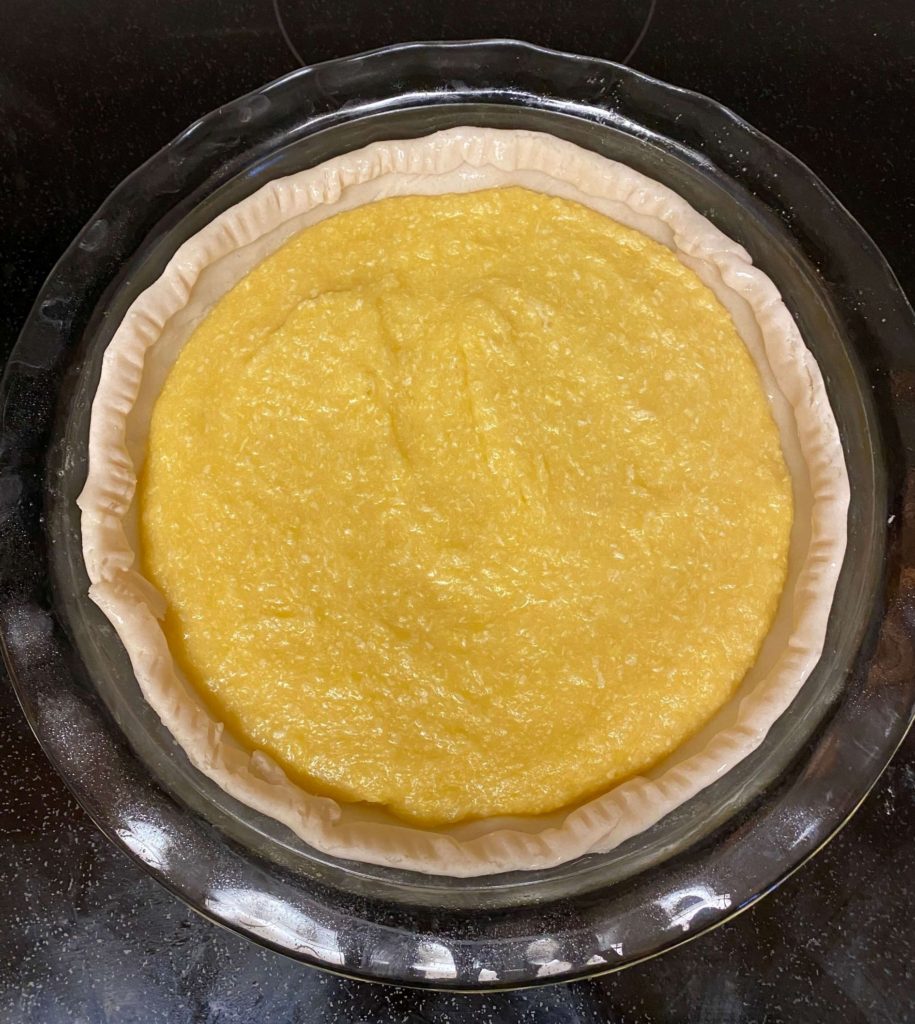
6. I then folded down the pie shell a bit and used a fork to make ridges around it. I just couldn’t help myself.
7. Put it in the oven and cook for 60 minutes.
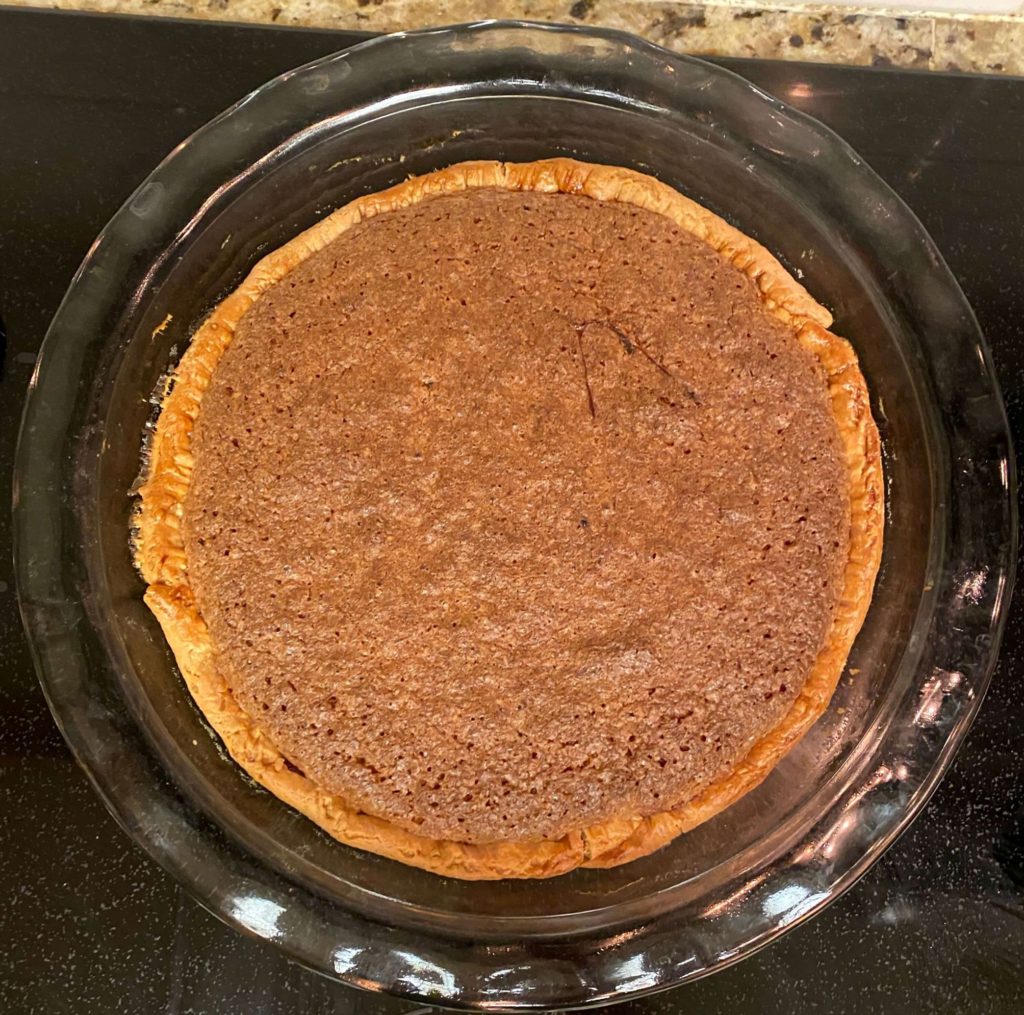
This is the end result after an hour in the oven. Doesn’t it look super crispy and delish!?!
But wait…there’s more!!!
8. You don’t have to do this part, wait, rewind, yes you do!!!
Wait until the pie cools a bit, at least 20 minutes. (If you can wait for this long)
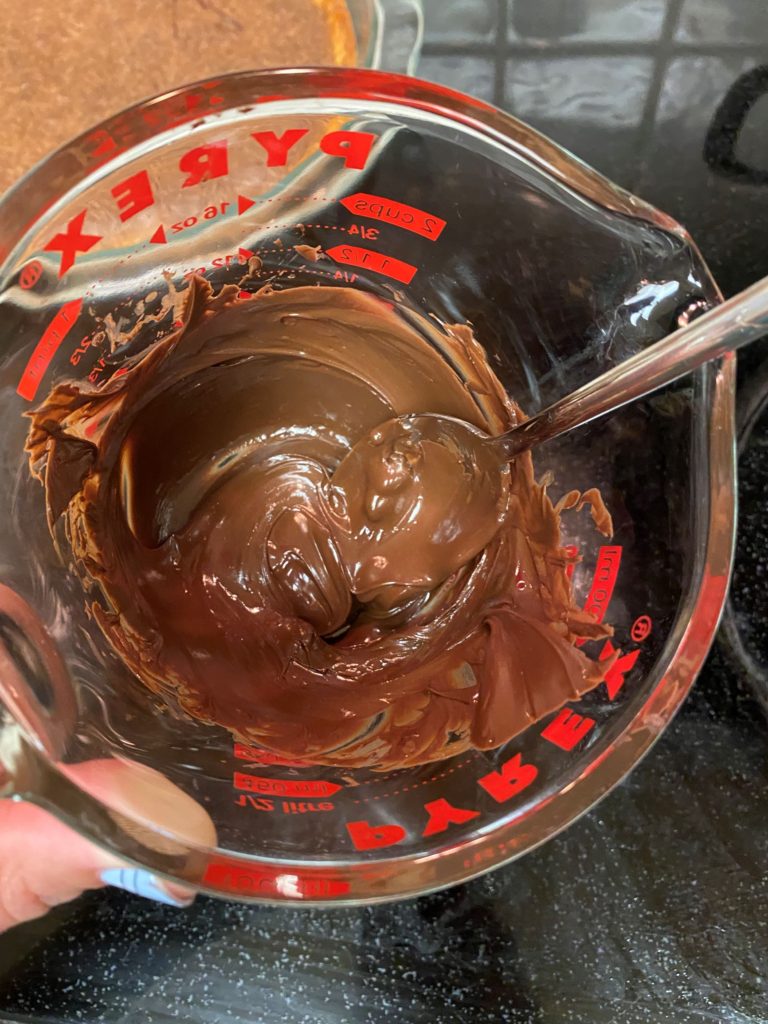
Melt 1/2 cup of chocolate chips in 30-second intervals in the microwave, keep stirring until smooth.
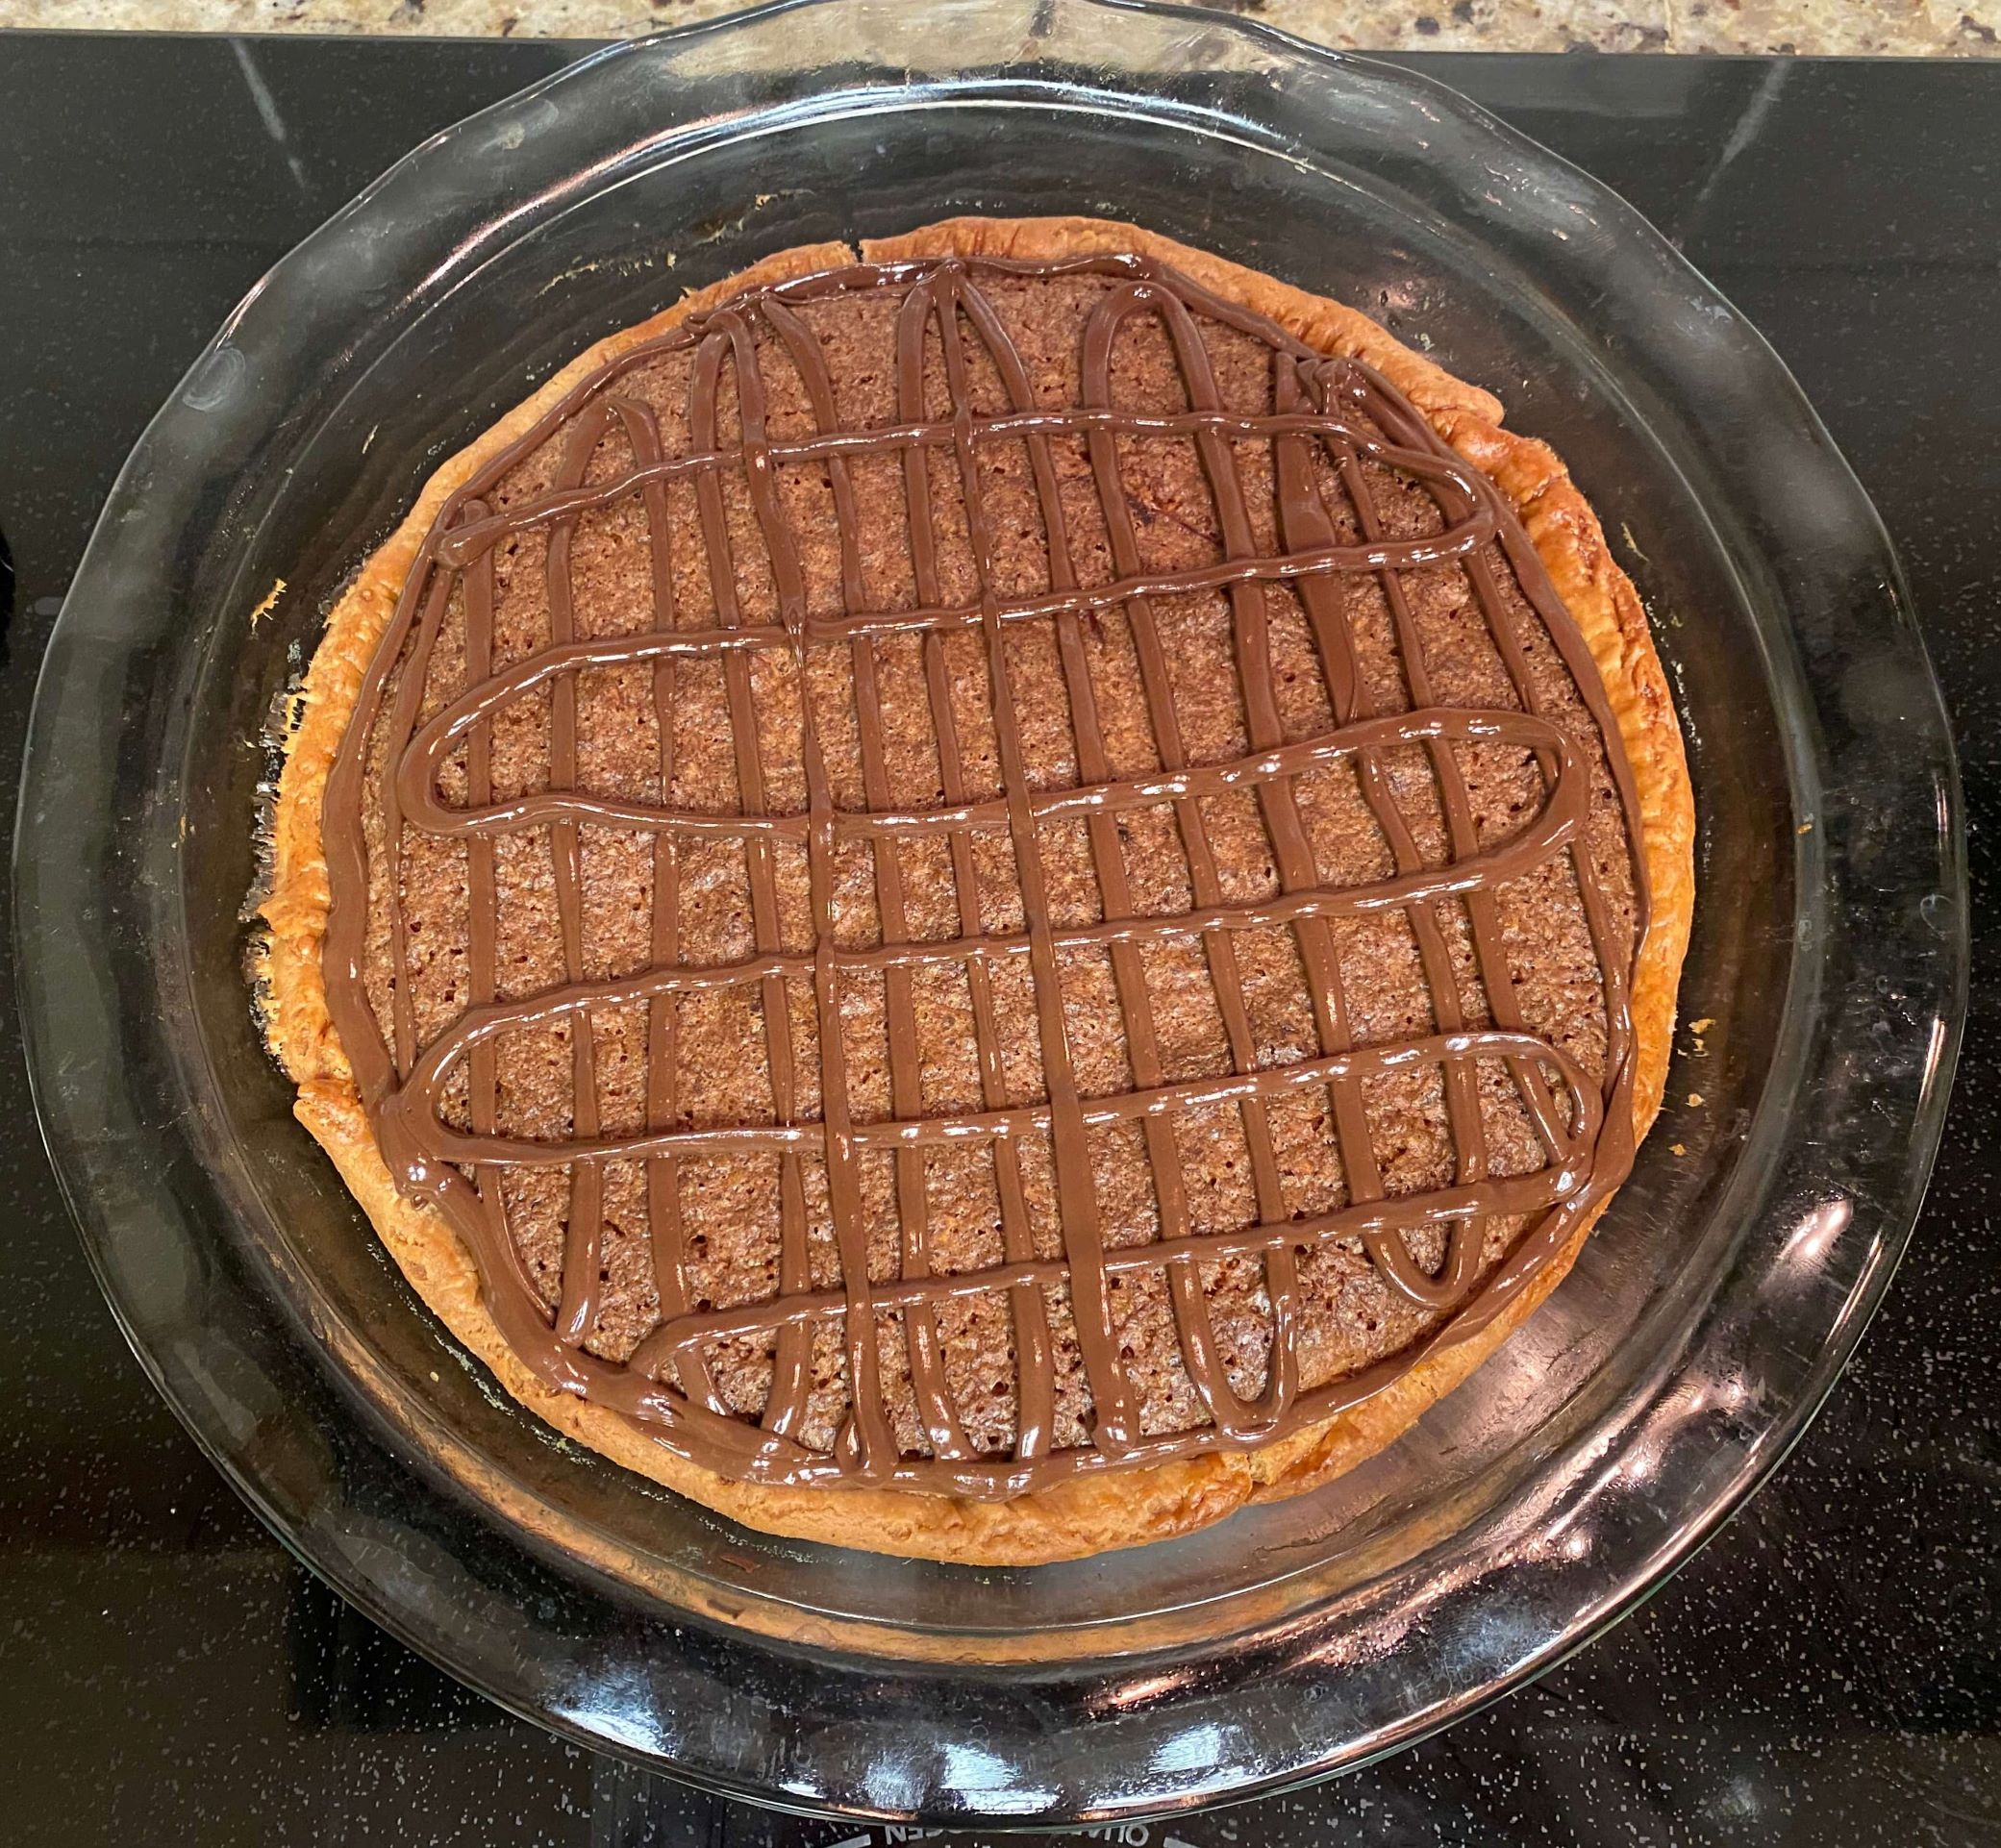
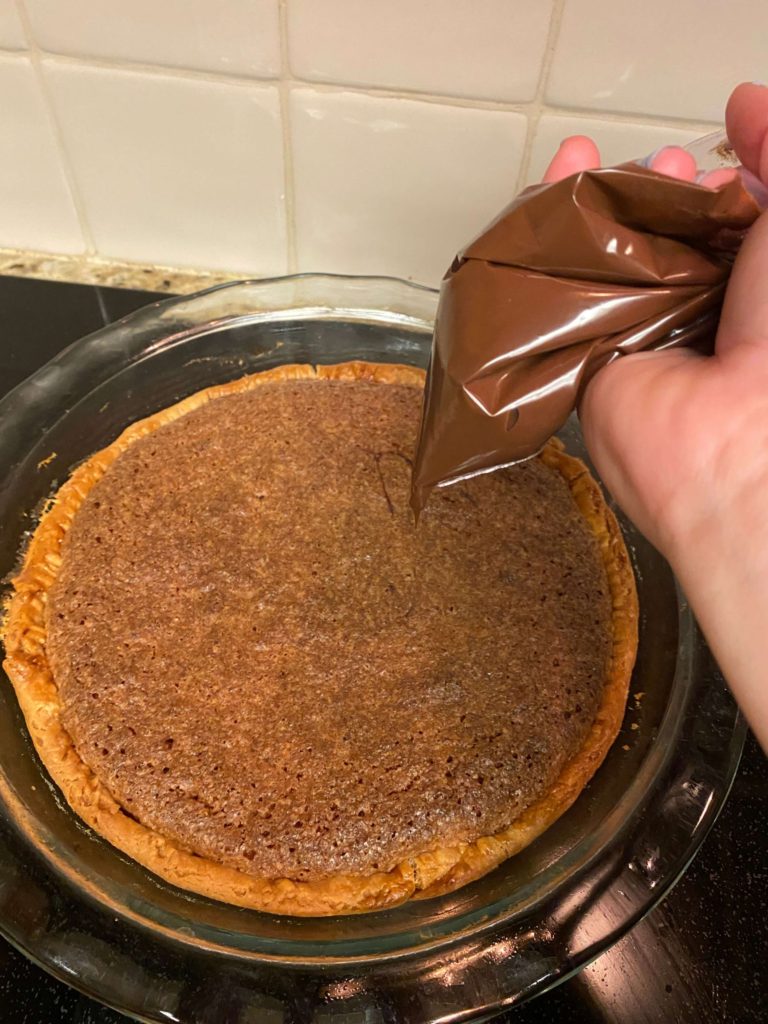
9. Now, this is where we get really fancy up in here!
You are going to put the melted chocolate in a Ziplock bag, cut a small tip at the end, and drizzle over the pie.
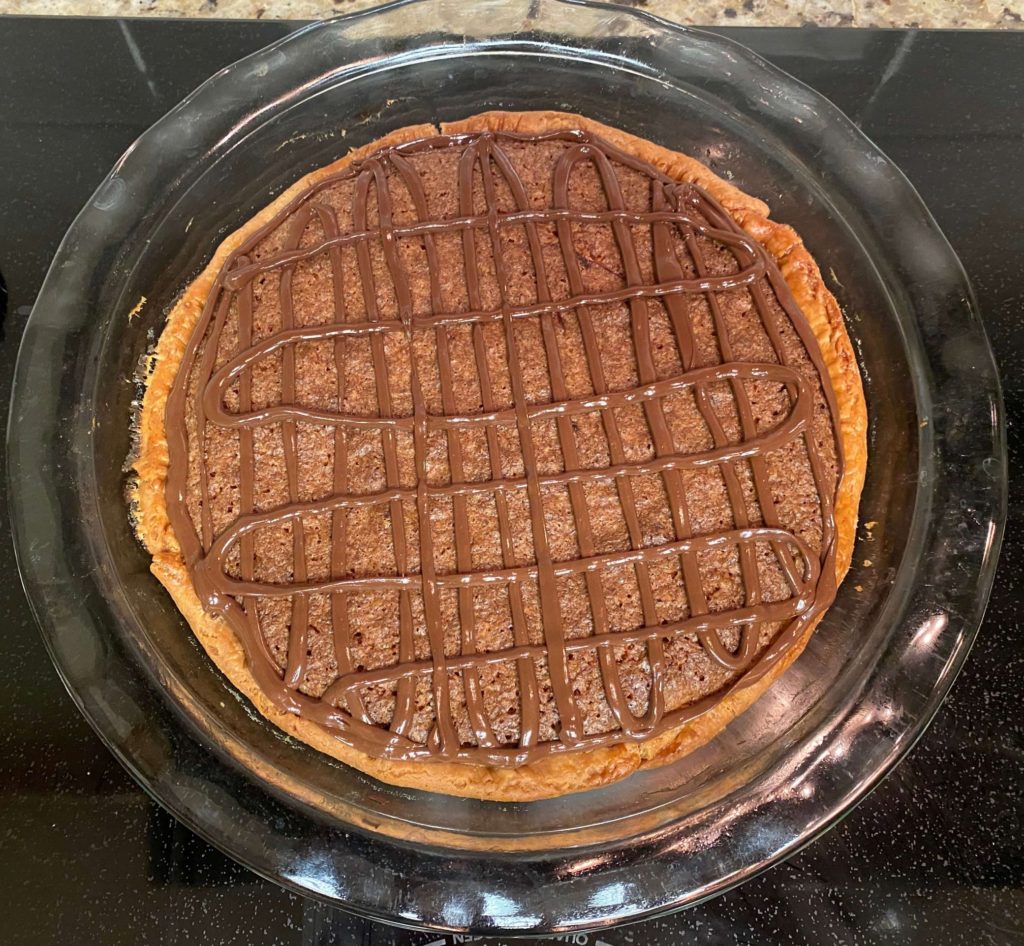
10. As you can see, I did a pattern of some sort down below.
That’s how I get down!
the best part!

For added fun and fewer dishes to wash, I have sliced up a scrumptious slice and put it on a Dixie paper plate. I feel no shame.
It taste sooo good! Let me know what you think!